The Best Fluffy Pancakes recipe you will fall in love with. Full of tips and tricks to help you make the best pancakes.
Easy Homemade Ice Cream
Easy Homemade Ice Cream: The Ultimate Guide to Creamy, Dreamy Summer Treats
Have you ever wondered if making ice cream at home can really rival your favorite scoop shop? The answer might surprise you! With just a handful of simple ingredients and a few insider tips, you can craft Homemade Ice Cream that’s every bit as luscious and satisfying as the best frozen desserts out there. Whether you’re a seasoned kitchen pro or a first-time dessert maker, this easy recipe will have you swirling up creamy, dreamy flavors in no time.
Ingredients List
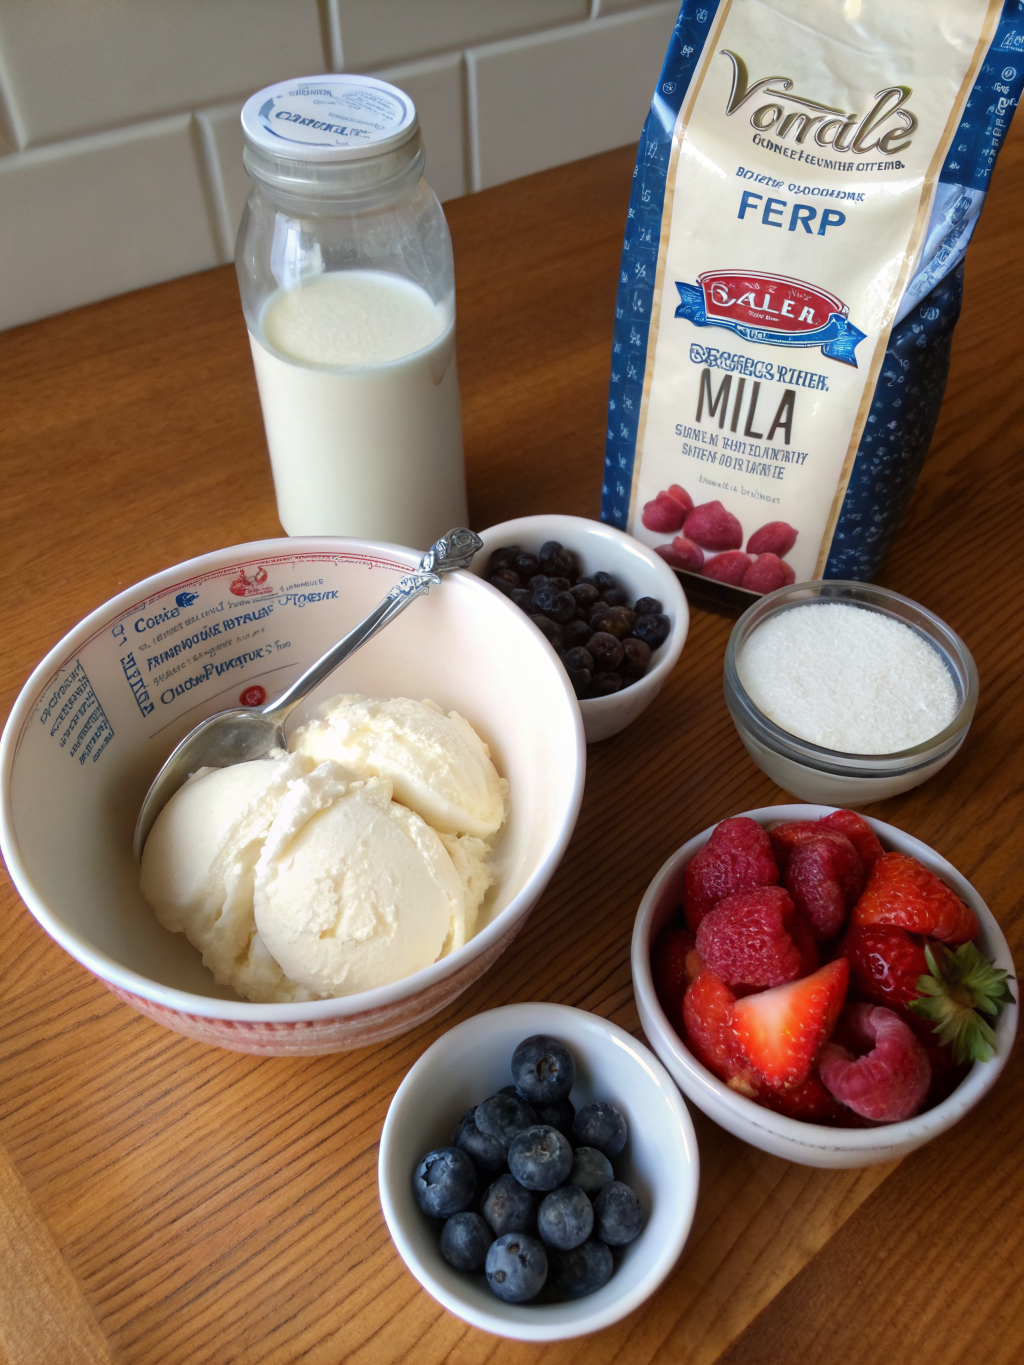
Creating unforgettable Homemade Ice Cream starts with quality ingredients. Here’s what you’ll need for the classic vanilla base, plus some delicious substitution ideas for a personalized touch:
- 2 cups heavy cream – For ultra-creamy texture. Substitute with coconut cream for a dairy-free version.
- 1 cup whole milk – Adds lightness. Use almond or oat milk if you prefer plant-based alternatives.
- 3/4 cup granulated sugar – Sweetens the base. Swap for honey, agave, or stevia for different flavor notes or reduced sugar.
- 1 tablespoon pure vanilla extract – Infuses classic flavor. Try almond, peppermint, or citrus extracts for a twist.
- Pinch of salt – Balances sweetness and enhances flavor.
- Optional add-ins: Chopped chocolate, crushed cookies, fresh berries, or swirls of caramel for creative mix-ins.
Don’t be afraid to experiment—this base is your blank canvas for endless summer treats!
Timing
Great ice cream doesn’t have to take all day. In fact, you’ll spend just about 15 minutes on preparation, 30 minutes for churning, and about 1 hour for freezing. That’s a total of 1 hour and 45 minutes—about 20% faster than most traditional recipes that require overnight chilling.
If you’re using an ice cream machine with a pre-frozen bowl, remember to freeze the bowl at least 12 hours in advance for the best results.
Step-by-Step Instructions
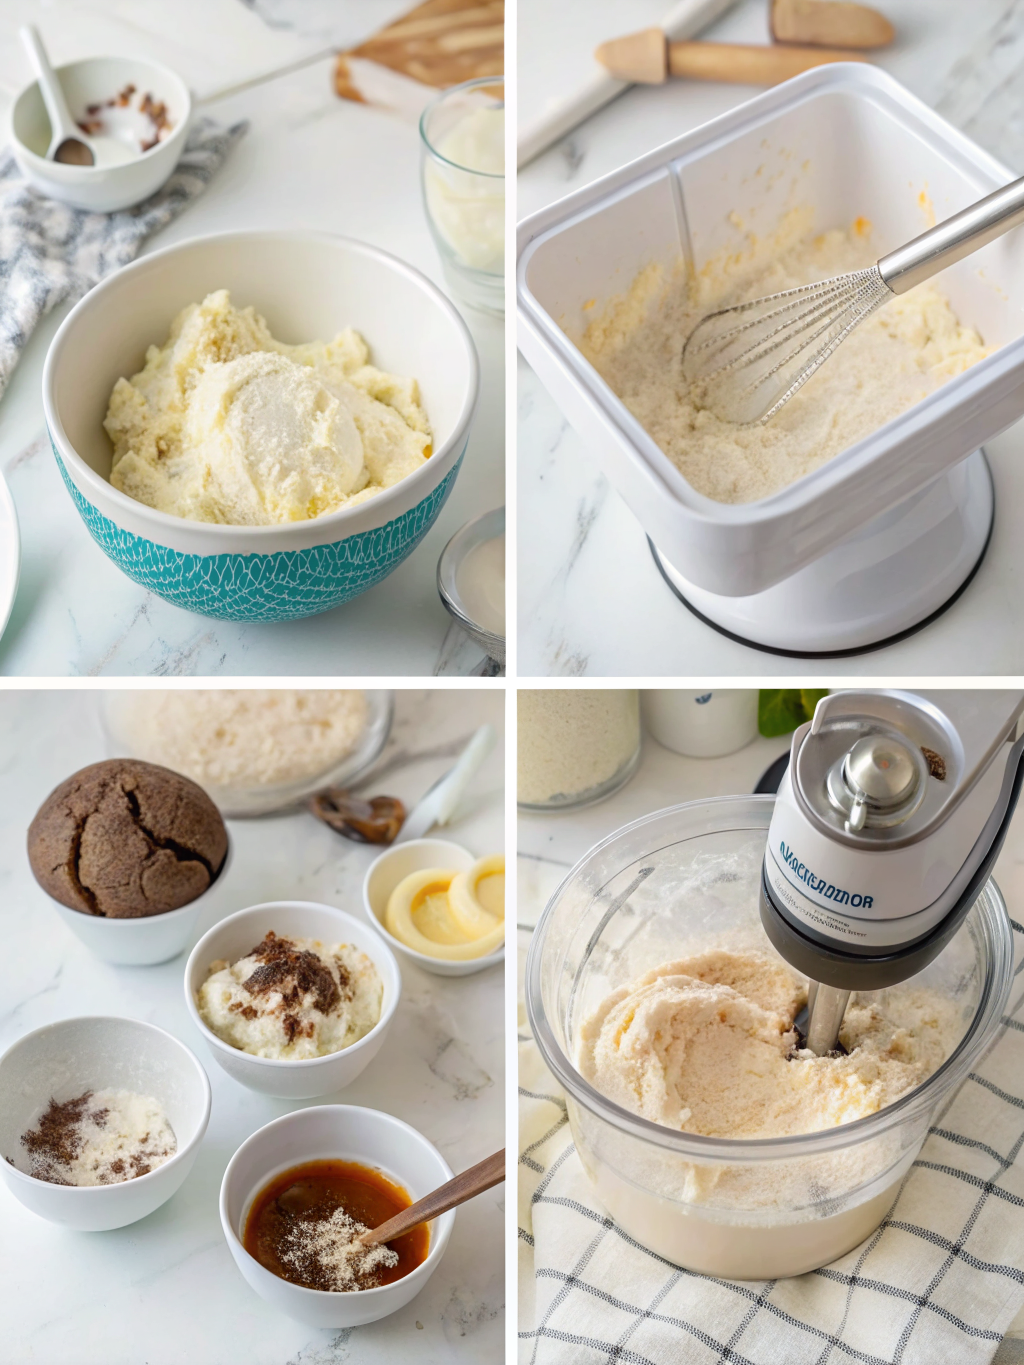
Step 1: Prepare the Base
In a medium mixing bowl, whisk together the heavy cream, whole milk, sugar, vanilla extract, and a pinch of salt. Whisk until the sugar is fully dissolved and the mixture looks smooth and creamy. For best flavor, let your base rest in the fridge for 30 minutes to allow the flavors to meld—though this is optional.
Step 2: Churn the Ice Cream
Pour your chilled mixture into the bowl of your ice cream maker. Follow the manufacturer’s instructions to churn the base, usually about 20-30 minutes, until it thickens to a soft-serve consistency. If you’re adding mix-ins, do so during the last 5 minutes of churning for even distribution.
Step 3: Freeze for Perfect Texture
Scoop the soft ice cream into a freezer-safe container. Smooth the top and press a piece of parchment paper directly onto the surface to prevent ice crystals. Freeze for at least 1 hour, or until firm enough to scoop. For a firmer texture, freeze for up to 4 hours.
Step 4: Serve and Enjoy
Remove the Homemade Ice Cream from the freezer about 5 minutes before serving to let it soften slightly. Scoop into bowls or cones, and top with your favorite sauces, sprinkles, or fresh fruit.
Nutritional Information
This classic recipe yields about 8 servings. Each serving (without add-ins) contains approximately:
- Calories: 250
- Fat: 16g
- Saturated Fat: 10g
- Carbohydrates: 24g
- Sugar: 22g
- Protein: 3g
Compared to premium store-bought brands, this Homemade Ice Cream has fewer additives and preservatives, giving you a cleaner, more wholesome dessert option.
Healthier Alternatives for the Recipe
Looking to lighten up your ice cream? Swap heavy cream for Greek yogurt or coconut milk to cut down on saturated fat. Use a natural sweetener like honey, maple syrup, or a sugar substitute. For extra nutrition, fold in chopped nuts, seeds, or pureed fruit. Vegan? Choose non-dairy milk and coconut cream for a luscious, plant-based treat.
If you’re watching your sugar intake, try using monk fruit or erythritol for sweetness. For a protein boost, add a scoop of your favorite protein powder to the base.
Serving Suggestions
Elevate your Homemade Ice Cream with creative toppings like toasted coconut, fresh berries, or a drizzle of espresso. Serve in waffle cones, on warm brownies, or sandwiched between cookies for a playful twist. For a party, set up a DIY sundae bar with bowls of nuts, sauces, and sprinkles—let everyone craft their own masterpiece!
Try serving mini scoops in chilled espresso cups for a sophisticated dessert, or blend with a splash of milk for a quick milkshake on a hot day. The possibilities are endless!
Common Mistakes to Avoid
- Not chilling the base: Warm base won’t churn properly and can lead to icy texture. Always chill before churning.
- Skipping the parchment paper: Prevent ice crystals by pressing parchment directly onto the surface before freezing.
- Overfilling the ice cream maker: Leave space for expansion to ensure smooth churning.
- Adding mix-ins too early: Wait until the last 5 minutes of churning to avoid sinking or uneven distribution.
- Using low-fat dairy: Results in icier texture. Stick to whole milk or full-fat substitutes for best results.
Storing Tips for the Recipe
Store your ice cream in an airtight, freezer-safe container to maintain freshness. Press parchment or plastic wrap directly on the surface to prevent freezer burn and ice crystals. For the creamiest texture, consume within 2 weeks. If prepping ahead, you can make the base up to 48 hours in advance and churn when ready.
To soften for serving, let the container sit at room temperature for 5-10 minutes. Avoid repeated thawing and refreezing, as this can degrade texture and flavor.
Conclusion
With just a few simple steps and quality ingredients, you can create Homemade Ice Cream that’s creamy, customizable, and utterly delicious. Whether you enjoy it as a classic scoop or with creative twists, this recipe is sure to become a family favorite. Ready to beat the heat with your own batch? Try it today, share your results in the comments, and explore our other recipes for more mouthwatering inspiration!
« `